Voice navigation
Through the previous course explanation, we have understood the entire process of implementing voice custom interaction.
Next we will learn how to control our robot to achieve the navigation function through the voice interaction function. And our voice navigation is also a functional realization based on the custom interaction mode design explained earlier.
overall effect
After running the default demo, we can give the robot an instruction to go to the specified point through voice, so as to realize the effect of letting the robot navigate to the specified point autonomously.
Implementation process
Simulation use
First, we have to wake up the robot through the wake-up word to make it enter the wake-up state.
Therefore, the Voice offline command word detection and VAD detection node explained earlier need to be started first:
roslaunch handsfree_speech offline_interactive_ros.launch//Voice interactive function node
rosrun handsfree_speech vad_record.py//VAD detection node
Then run the Voice Navigation Node:
rosrun handsfree_speech set_goal.py//Voice navigation node
According to the content of the first section of the voice tutorial, we can use the simulation environment to test to see the effect of voice interaction. Here we also provide the corresponding simulation environment:
roslaunch handsfree_stage demo_handsfree_room_stage.launch

roslaunch handsfree_stage demo_handsfree_xuda_stage.launch
These two are simulation environments. When the space is not empty enough or not yet skilled, the simulation test can be performed by executing any one of the instructions.
Through the simulation environment, we can use the function of voice interaction to view the execution effect and debug the voice function.
real machine use
After we are familiar with the voice function, we can start debugging the robot in the actual environment.
First start our Voice Interaction Node and VAD Detection Node:
roslaunch handsfree_speech offline_interactive_ros.launch//Voice interactive function node

rosrun handsfree_speech vad_record.py//vad detection node
Then run the Voice Navigation Node:
rosrun handsfree_speech set_goal.py//Voice navigation node
Since we are using it in an actual environment, we also need to start the driver node:
roslaunch handsfree_hw handsfree_hw.launch
Also run the corresponding model of lidar driver node (HandsFree uses Silan rplidar's radar by default):
Open a second terminal and start the laser node:
roslaunch handsfree_lidar lidar.launch
Open a third terminal and open the move_base node (my_map is the name of the map created in the previous Radar Mapping tutorial):
roslaunch handsfree_2dnav move_base_with_amcl.launch map_name:=my_map
Open a fourth terminal and start the RVIZ visualizer:
rosrun rviz rviz -d `rospack find handsfree_2dnav`/rviz/navigation.rviz
Initial position calibration: You can calibrate the initial position through the 2D Pose Estimate in the toolbar above the RVIZ visualization tool until the robot's position on the map is the same as the robot's actual position.
Once everything is in place, you can try out the voice navigation feature.
core control
 if(todo_id==10007&&ifwake==1)
  {
      const char* text = "Instruction received, going to point A"; //Synthetic text
      ret =text_to_speech(text, filename_move, session_begin_params);
      if (MSP_SUCCESS != ret)
      {
printf("text_to_speech failed, error code: %d.\n", ret);
      }
      printf("Completed\n");
      printf("Received a command to go to point A\n");
      play_wav((char*)filename_move);
      ifwake=0;
      std_msgs::String msg_pub;
      msg_pub.data = "A";
      pub.publish(msg_pub);
  }
        self.pose_x = rospy.get_param('~goal_pose_x',0.0)
        self.pose_y = rospy.get_param('~goal_pose_y',0.0)
        self.pose_z = rospy.get_param('~goal_pose_z',0.0)

        self.quat_x = rospy.get_param('~goal_quat_x',0.0)
        self.quat_y = rospy.get_param('~goal_quat_y',0.0)
        self.quat_z = rospy.get_param('~goal_quat_z',0.0)
        self.quat_w = rospy.get_param('~goal_quat_w',1.0)

        self.goal_finish = 0
        self.shutdown_finish = 0
        rospy.on_shutdown(self.shutdown)

        rospy.Subscriber('/recognizer/output', String, self.speech_callback)
        # Subscribe to the move_base action server
        self.move_base = actionlib.SimpleActionClient("move_base", MoveBaseAction)
        rospy.loginfo("Waiting for move_base action server...")
        # Wait 60 seconds for the action server to become available
        self.move_base.wait_for_server()
        rospy.loginfo("Connected to move base server")
        rospy.loginfo("Starting navigation test")
        rate = rospy.Rate(10)
        while 1 :
            if self.goal_finish == 1 :
                self.pose_x = rospy.get_param('~goal_pose_x',0.0)
                self.pose_y = rospy.get_param('~goal_pose_y',0.0)
                self.pose_z = rospy.get_param('~goal_pose_z',0.0)

                self.quat_x = rospy.get_param('~goal_quat_x',0.0)
                self.quat_y = rospy.get_param('~goal_quat_y',0.0)
                self.quat_z = rospy.get_param('~goal_quat_z',0.0)
                self.quat_w = rospy.get_param('~goal_quat_w',1.0)
            elif self.shutdown_finish == 1 : #This is a program exit detection, if
                break
            rate.sleep()
Navigation interruption stop processing: Compared with traditional navigation programs, our voice interactive navigation programs are more real-time, so we need to set the state processing of voice.
That is, when the robot receives the set navigation target point information, the robot will move to the target point, and if it receives a wake-up command in the middle, the robot will interrupt the currently executing task, stop moving and wait for a new voice command.
rospy.loginfo(msg)
        if msg.data == 'A':
            self.pose_x = rospy.get_param('~goal_pose_x',11.3)
            self.pose_y = rospy.get_param('~goal_pose_y',50.1)
            self.pose_z = rospy.get_param('~goal_pose_z',0.0)

            self.quat_x = rospy.get_param('~goal_quat_x',0.0)
            self.quat_y = rospy.get_param('~goal_quat_y',0.0)
            self.quat_z = rospy.get_param('~goal_quat_z',0.0)
            self.quat_w = rospy.get_param('~goal_quat_w',1.0)

        elif msg.data == 'shutdown':
            self.shutdown_finish=1
        elif msg.data == 'patrol':
             a=0 #These two are adaptations with the patrol command. If the navigation function is executed at the same time, the patrol task will not go to the origin of the navigation to rest.
        elif msg.data == 'stoppatrol':
             a=0 #These two are adaptations with the patrol command. If the navigation function is executed at the same time, the patrol task will not go to the origin of the navigation to rest.
        else:
            self.pose_x = rospy.get_param('~goal_pose_x',0.0)
            self.pose_y = rospy.get_param('~goal_pose_y',0.0)
            self.pose_z = rospy.get_param('~goal_pose_z',0.0)

            self.quat_x = rospy.get_param('~goal_quat_x',0.0)
            self.quat_y = rospy.get_param('~goal_quat_y',0.0)
            self.quat_z = rospy.get_param('~goal_quat_z',0.0)
            self.quat_w = rospy.get_param('~goal_quat_w',1.0)

        self.goal_finish = 0
rospy.loginfo('Moving the base through velocity commands')
        goal = MoveBaseGoal()
        goal.target_pose.header.frame_id = 'map'
        goal.target_pose.header.stamp = rospy.Time.now()

        quaternion = Quaternion()
        quaternion.x = self.quat_x
        quaternion.y = self.quat_y
        quaternion.z = self.quat_z
        quaternion.w = self.quat_w
        goal.target_pose.pose.position.x = self.pose_x
        goal.target_pose.pose.position.y = self.pose_y
        goal.target_pose.pose.position.z = self.pose_z
        goal.target_pose.pose.orientation = quaternion

        self.move_base.send_goal(goal, self.donecb, self.activecb, self.feedbackcb)
Start the visualization node in the new terminal and load the corresponding rviz configuration file to display the visualization data of the map and related sensors:
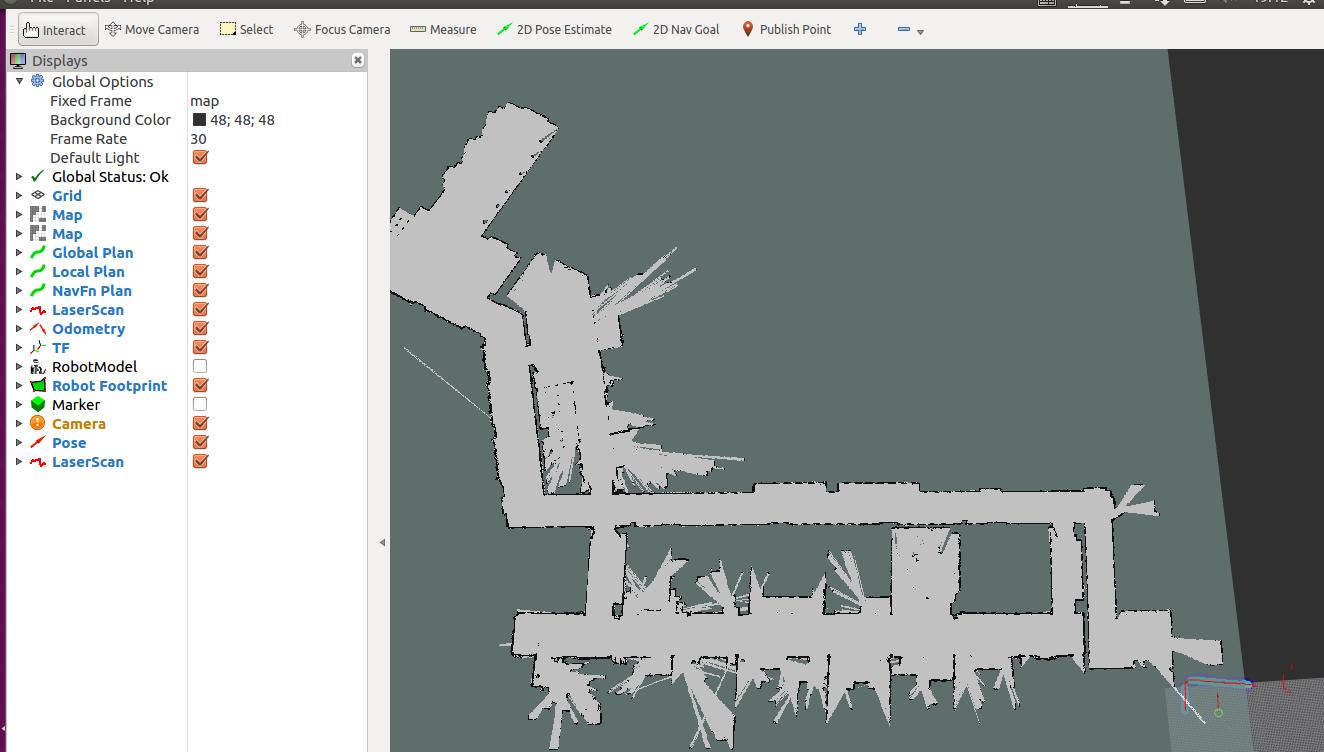
Calibration of initial position
The initial position of the robot we see in the RVIZ map may not be its actual position in the real environment, and in order for the robot to navigate normally, we need to manually calibrate the initial position.
Click on the 2D Pose Estimate icon in the RVIZ menu bar.
Move the mouse to the actual position of the robot on the map, press and hold the left button, adjust the direction and release it.
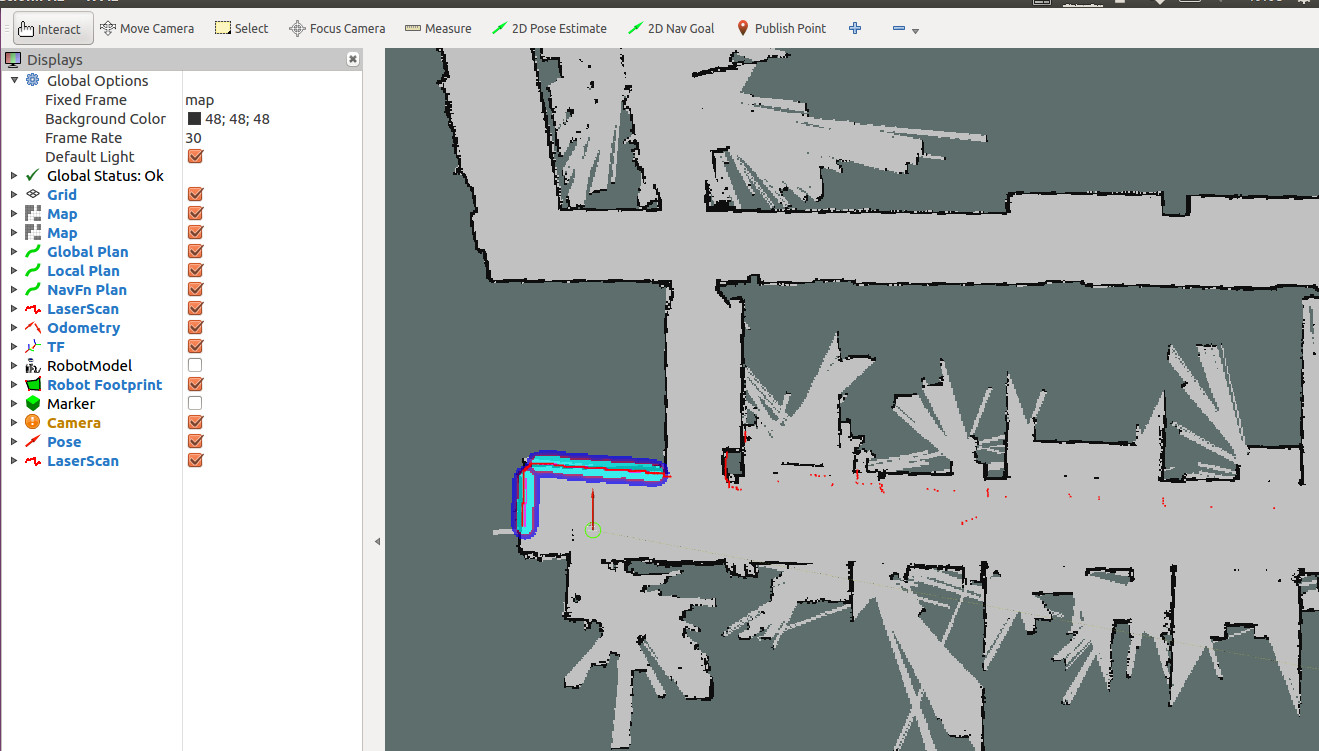
Repeat the above actions until the robot's position on the map is the same as the robot's actual position. We can judge whether the robot's position calibration is successful by observing whether the data scanned by the lidar matches the boundaries of the map.
In the simulation case, we do not need to calibrate the actual position. In the simulation environment, the initialization position is already accurate, and the robot simulation radar data and the map boundary are also consistent. If you perform a location calibration, you may experience inaccurate location information, which can lead to problems such as navigation failure.
The calibrated effect is as follows:
In order for the robot to navigate to the target point we set, we also need to modify the coordinate point parameter in the corresponding code and set it as the target point parameter.
The modification steps are as follows:
First, we have to create a map of the actual environment according to the Radar Mapping tutorial.
Then open the map through the rviz visualization tool, and use the Publish Point function on the toolbar above rviz to find several suitable points. Turn on the Publish Point function, and move the mouse to the corresponding target point. At this time, the lower left corner of rviz will display the three values of the coordinates of the point. The first two values are the x and y values.
(You can first learn how to use radar to build maps according to the tutorial we provided earlier.)
After you set the point, you can modify the corresponding parameters of the ABCD point in the code (the ABCD point here can be visualized as the corresponding position, such as kitchen, living room, bathroom, etc.) to set the point.
Here we demonstrate an example of point A:
//set_goal.py
if msg.data == 'A':
            self.pose_x = rospy.get_param('~goal_pose_x',11.3)//Only need to modify the X coordinates of these two points
            self.pose_y = rospy.get_param('~goal_pose_y',50.1)//Y coordinate
            self.pose_z = rospy.get_param('~goal_pose_z',0.0)

            self.quat_x = rospy.get_param('~goal_quat_x',0.0)
            self.quat_y = rospy.get_param('~goal_quat_y',0.0)
            self.quat_z = rospy.get_param('~goal_quat_z',0.0)
            self.quat_w = rospy.get_param('~goal_quat_w',1.0)
At this time, the corresponding commands are issued through our voice interaction, and the voice navigation function of the robot can be realized.
The following is an error code information query of iFLYTEK. If the relevant error code is reported when calling iFLYTEK, you can query through this link. Inquiry about iFLYTEK error code information