Mavros在线控制 (Python)
1. 环境设置
需安装如下所示第三方包
mavros:具有不同ROS版本的标准mavros包,安装指令:
sudo apt install ros-<ROS_VERSION>-mavrosmavlink:具有不同ROS版本的标准mavlink包,安装指令:
sudo apt install ros-<ROS_VERSION>-mavlinkmavros_extras:具有不同ROS版本的标准mavros_extras包,安装指令:
sudo apt install ros-<ROS_VERSION>-mavros-extras
要使用这些包,用户必须创建一个新的 catkin 工作空间,且每次启动这些自定义节点时都需要通过 source devel/setup.bash 获取环境变量。
2. 启动SITL仿真
使用如下指令可启动无人机的仿真程序
roslaunch handsfree_uav_hw uav_hw.launch enable_mocap:=false
3. 常用 topic 与 service
mavros 中有部分经常用到的 topic, 现将其列出:
- mavros/state
系统状态,可获取 mavlink 连接状态、电池电压等信息 - mavros/local_position/pose
无人机本地位置 - mavros/imu/data_raw
IMU原始数据 - mavros/imu/data
滤波后的IMU数据 - mavros/manual_control/control
遥控器数据 - mavros/setpoint_position/local
无人机期望位置,向该 topic 发布数据即可控制无人机前往目标位置 - mavros/setpoint_velocity/cmd_vel_unstamped
无人机期望速度,可以控制无人机在x,y,z三轴上的速度
常用 service 如下所示:
- mavros/cmd/arming 上/解锁服务
- mavros/set_mode 切换无人机模式
4. 启动单机仿真
使用如下指令启动无人机单机仿真
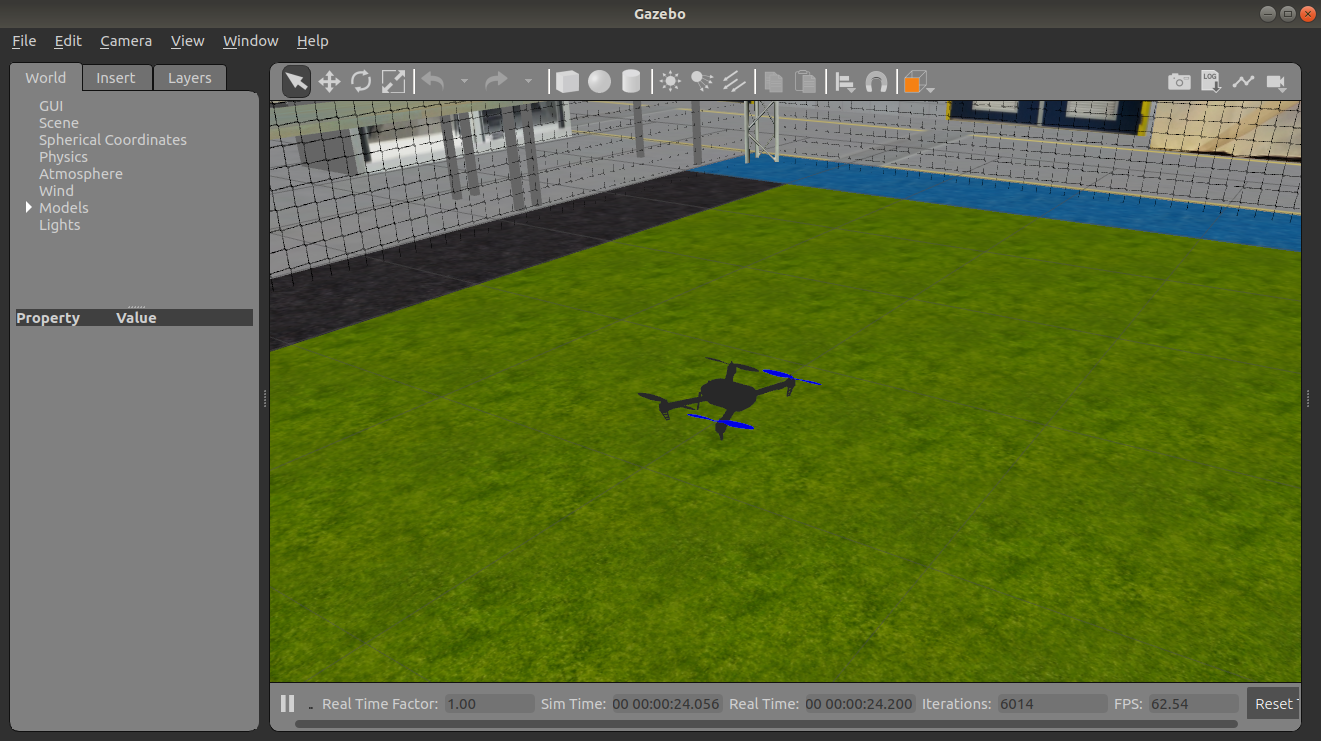
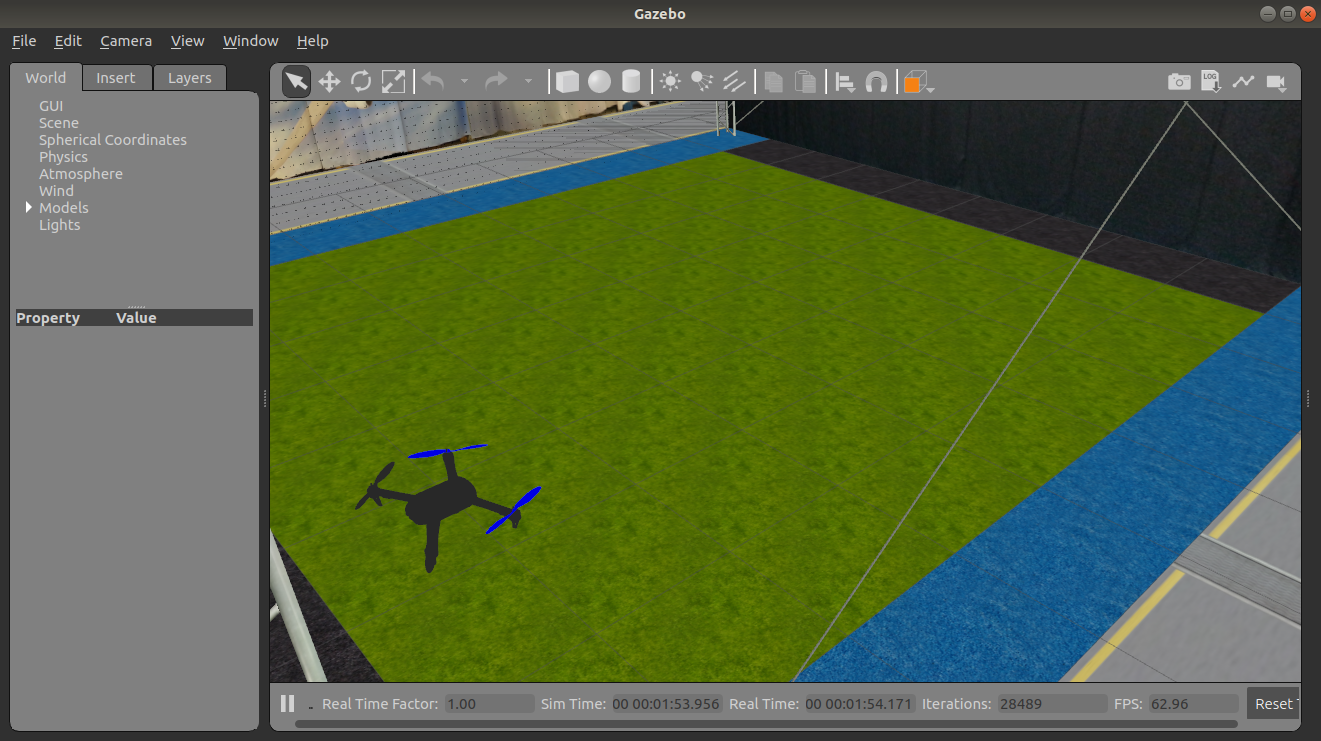
roslaunch handsfree_uav_gazebo gazebo_uav_car_mocap.launch car_num:=0 uav_num:=1
成功启动后即可看到如下所示界面
5.运行官方案例
PX4官网提供了关于无人机offboard控制的案例
代码内容如下(区别仅在于修改了 topic 与 service 的名称)
#! /usr/bin/env python

import rospy
from geometry_msgs.msg import PoseStamped
from mavros_msgs.msg import State
from mavros_msgs.srv import CommandBool, CommandBoolRequest, SetMode, SetModeRequest

current_state = State()

def state_cb(msg):
    global current_state
    current_state = msg


if __name__ == "__main__":
    rospy.init_node("offb_node_py")

    state_sub = rospy.Subscriber("/uav_1/mavros/state", State, callback = state_cb)

    local_pos_pub = rospy.Publisher("/uav_1/mavros/setpoint_position/local", PoseStamped, queue_size=10)

    rospy.wait_for_service("/uav_1/mavros/cmd/arming")
    arming_client = rospy.ServiceProxy("/uav_1/mavros/cmd/arming", CommandBool)

    rospy.wait_for_service("/uav_1/mavros/set_mode")
    set_mode_client = rospy.ServiceProxy("/uav_1/mavros/set_mode", SetMode)


    # Setpoint publishing MUST be faster than 2Hz
    rate = rospy.Rate(20)

    # Wait for Flight Controller connection
    while(not rospy.is_shutdown() and not current_state.connected):
        rate.sleep()

    pose = PoseStamped()

    pose.pose.position.x = 0
    pose.pose.position.y = 0
    pose.pose.position.z = 2

    # Send a few setpoints before starting
    for i in range(100):
        if(rospy.is_shutdown()):
            break

        local_pos_pub.publish(pose)
        rate.sleep()

    offb_set_mode = SetModeRequest()
    offb_set_mode.custom_mode = 'OFFBOARD'

    arm_cmd = CommandBoolRequest()
    arm_cmd.value = True

    last_req = rospy.Time.now()

    while(not rospy.is_shutdown()):
        if(current_state.mode != "OFFBOARD" and (rospy.Time.now() - last_req) > rospy.Duration(5.0)):
            if(set_mode_client.call(offb_set_mode).mode_sent == True):
                rospy.loginfo("OFFBOARD enabled")

            last_req = rospy.Time.now()
        else:
            if(not current_state.armed and (rospy.Time.now() - last_req) > rospy.Duration(5.0)):
                if(arming_client.call(arm_cmd).success == True):
                    rospy.loginfo("Vehicle armed")

                last_req = rospy.Time.now()

        local_pos_pub.publish(pose)

        rate.sleep()
用户可在任意目录下新建一个名为offboard_demo.py的 python 脚本,并将上述的程序复制到该文件中。
在无人机启动单机仿真程序后,使用如下指令即可运行该案例。
python offboard_demo.py
注意,用户在运行此案例时,无需自行配置仿真环境(自行配置仿真环境可能会导致已配置好的仿真环境异常),仅需按如上步骤一步步运行即可