Powering and Programming Interface
Note: This tutorial is applicable for UAV products of Q series equipped with Jetson Nano only.
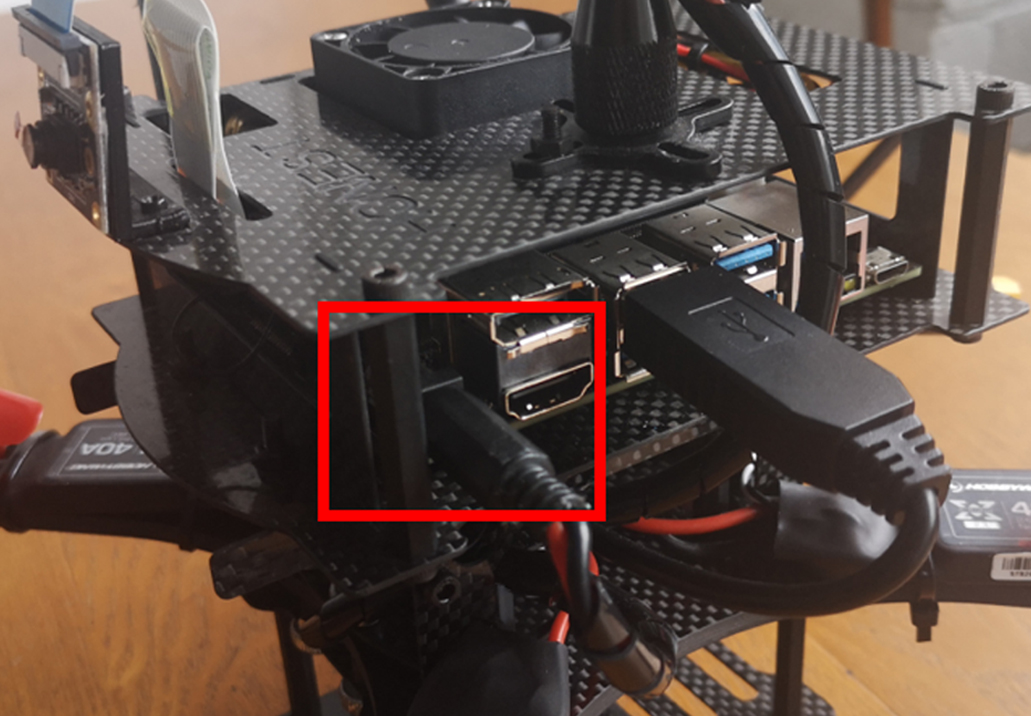
Nvidia Jetson Nano supports two power options: micro USB powering and DC jack powering. The default option for the TAObotics UAV package is the DC jack, highlighted in the figure below. The micro USB powering can be activated by disconnecting the J48 jumper in the Jetson Nano carrier board. We advise users to use the DC jack as the micro USB port can only deliver maximum 2A current which is not sufficient for heavy computation burden.
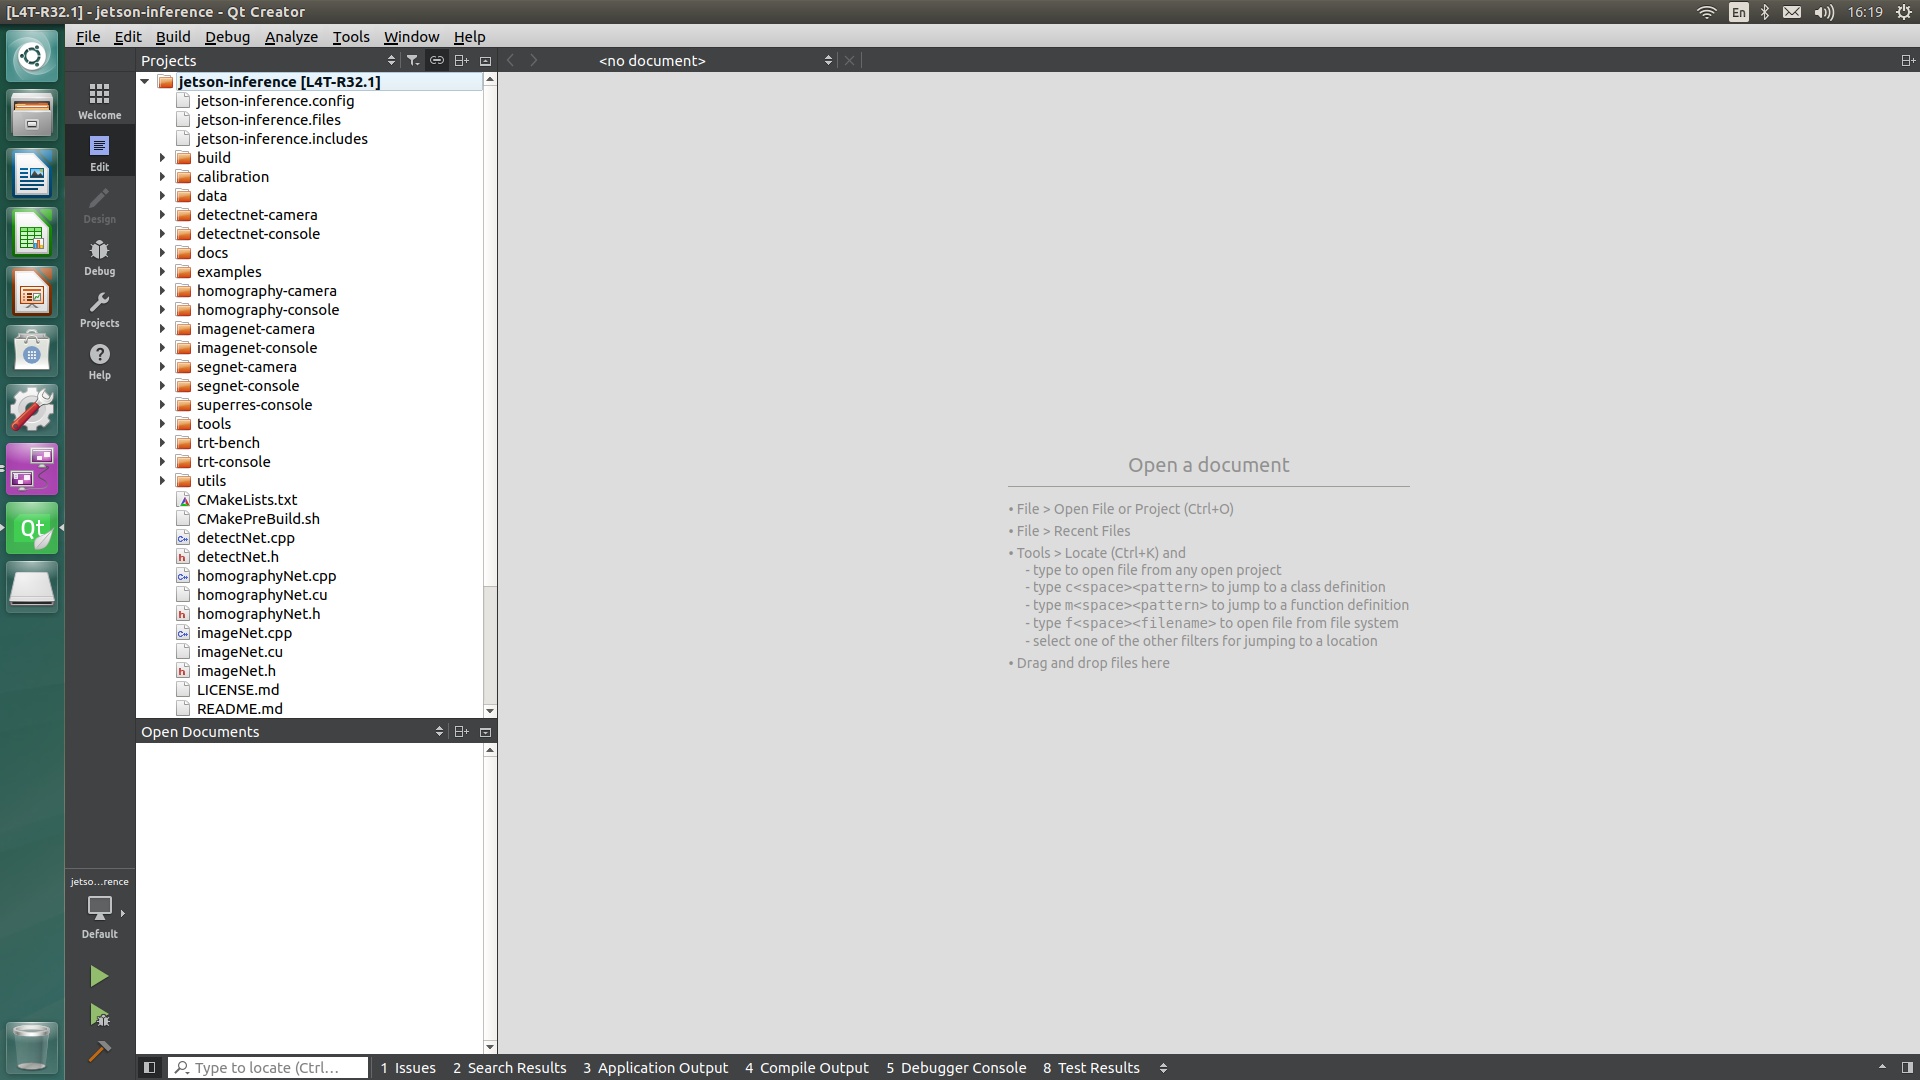
 By connecting the Jetson Nano with a screen via a HDMI cable, we can log in the onboard computer. Note that only screens with native HDMI ports are supported by Jetson Nano. The default user name and password are both ubuntu. We installed the QTcreator as the default IDE for software programming.
 Users can also log into the computer remotely. To achieve this, both the Jetson Nano and remote PC have to be in the same local WiFi network. Suppose the IP address for the Jetson Nano is: 192.168.0.101, then we can log into it with commands:
sudo apt update
sudo apt install openssh-server
ssh ubuntu@192.168.0.101
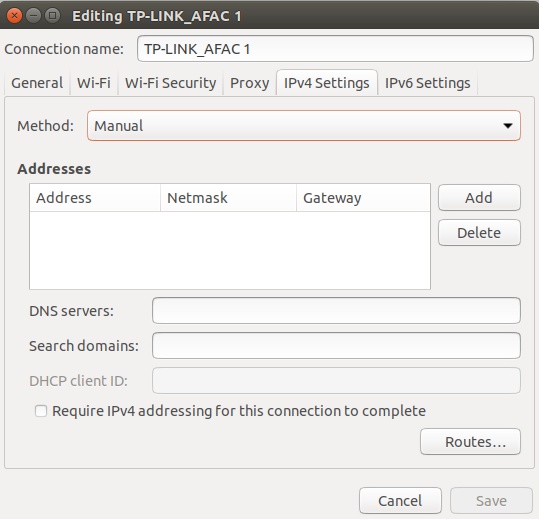
To avoid the troublesome of changing IP address, users can set the IP manually for the Jetson Nano in the WiFi connection options.