Enabling Autonomous Indoor Flight with a Tracking Camera
Note: This tutorial is applicable for TAObotics Q300(Nano) only.
Indoor localization is essential to enable autonomous indoor flight for UAVs. Practical methods include optical flow, laser based and vision based SLAM methods. With the belief that vision can provide rich information not limited to localization, we focus on vision-based methods for indoor tasks to differentiate from other products in market. Here we provide TAObotics Q300 drones for advanced users.
How to Setup
Firmware Setting
The onboard Q300 flight controller is configured properlly in factory. The TAObotics Q300(Nano) platform is able to perform both indoor and outdoor tasks. We provide the param EKF2_INDOOR_EN to facilitate the switching between indoor and outdoor scenes. By setting the EKF2_INDOOR_EN as 1, the drone will be automatically configured for indoor use.

Network Setting
The Q300 vision drone should be connected in a local network with wifi connection so that it can be easily operated remotely. With the ssh tool, users can access the onboard computer with its corresponding IP address:
ssh ubuntu@<drone IP address>
The drone IP address can be found by logging into the administration page of the router. Taking the TP-Link router as an example, users can visit 192.168.1.1 or http://tplogin.cn/ to checkout all computers connected in the local network. The computer name for the Q300 vision drone is ubuntu by default.
You might also use a mobile phone as a hotspot alternatively to setup the required network
Semi-Autonomous Indoor Flight
We advise all users to perform the semi-autonomous indoor flight as the first step, as the flight can help validate the localization accuracy of the onboard software. The Q300 vision drone utilizes Intel Realsense tracking camera T265 for onboard perception. The onboard software consists of the realsense library, mavros and visual odometry packages, and the workspace is located at ~/src/catkinws_realsense.
To build the workspace,
cd ~/src/catkinws_realsense
catkin build -j 3
To start the localization process, wait at least 1 minute after the system is powered up,
cd ~/src/catkinws_realsense
bash run.sh
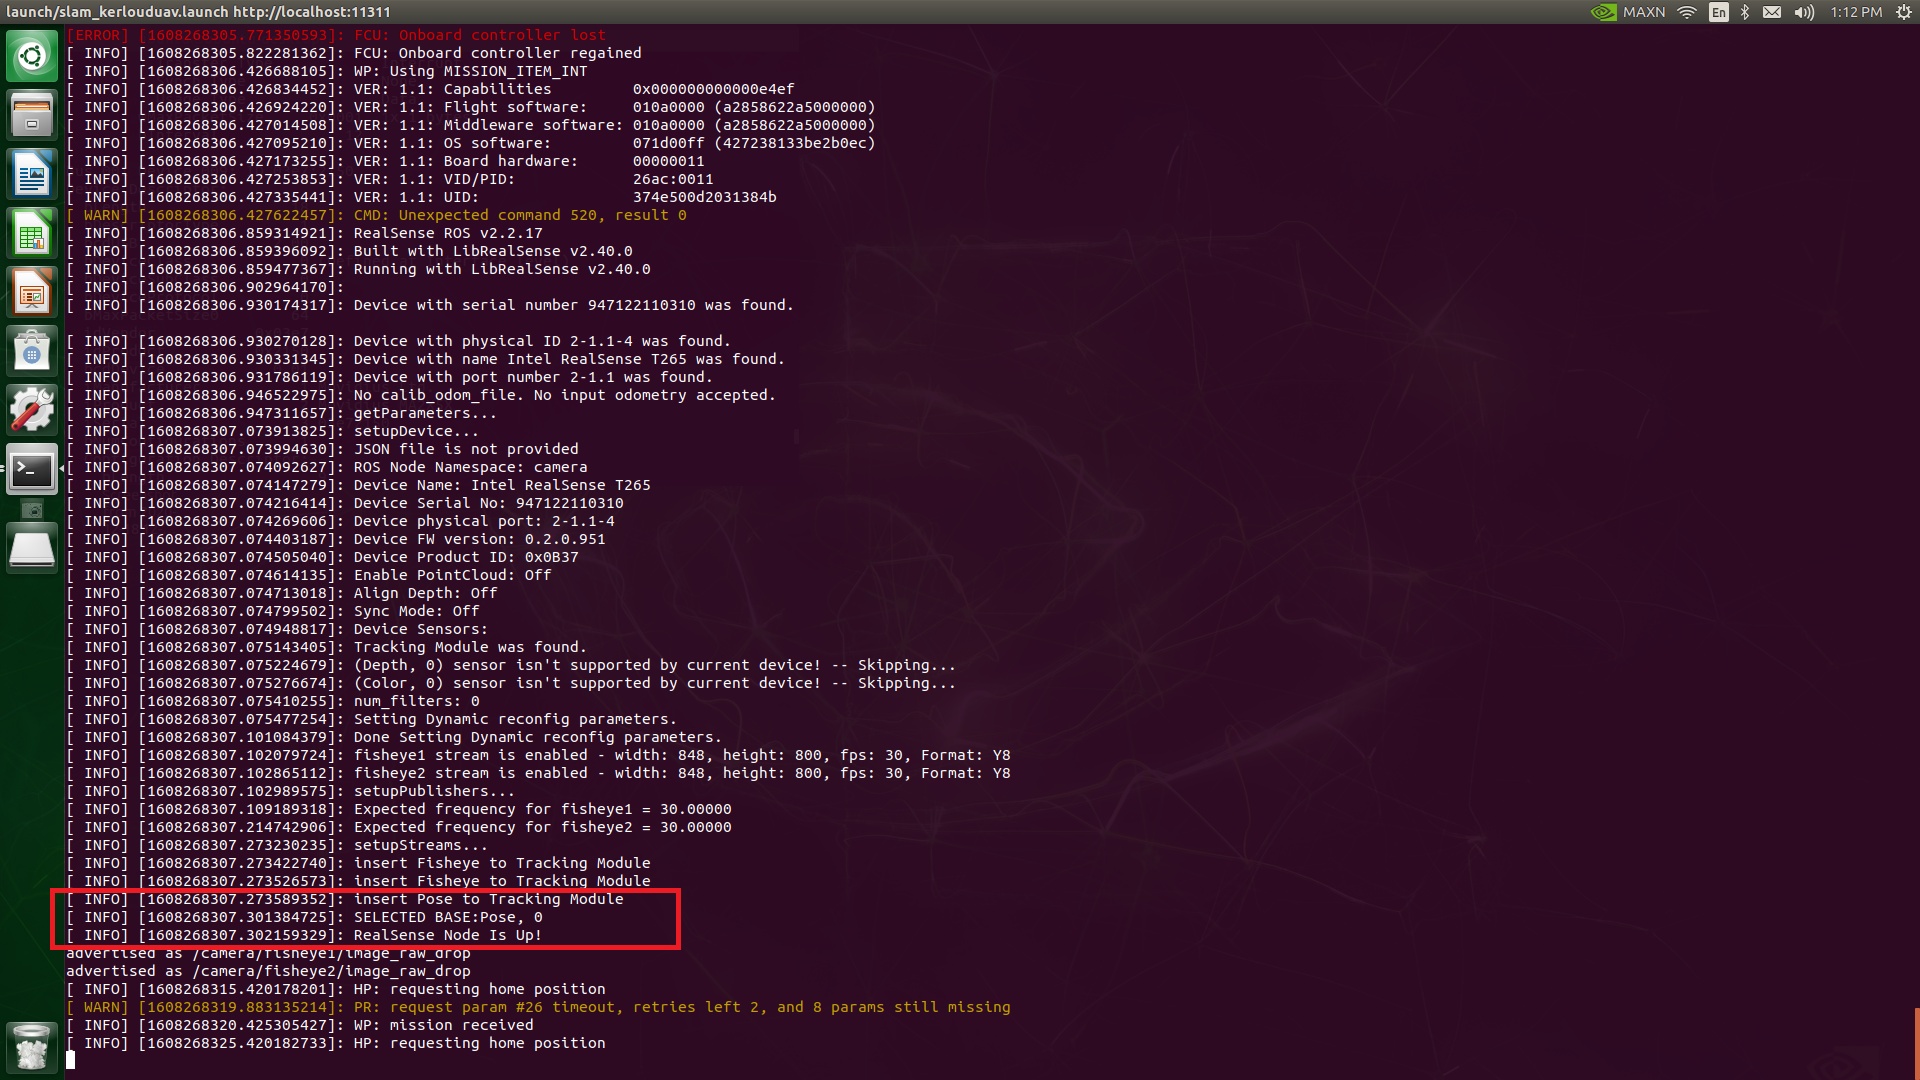
Then we can see the necessary nodes are brought up in terminal. Make sure that the message “Realsense is up” is shown as below:
If the Intel Realsense camera fails to boot with the msg “No realsense devices were found”, which is a reported bug for the realsense library https://github.com/IntelRealSense/librealsense/issues/3657, users can try the following suggestions:
Replug the camera usb cable, and this is a temporary solution
Users can restart the usb hub with commands below:
 # install the uhubctl tool from source
git clone https://github.com/mvp/uhubctl
cd uhubctl
make
sudo make install

 # restart the usb hub manually
sudo uhubctl -a cycle -p 1-4
Note that the above bug has been resolved in our latest product release.
Users can then confirm the localization output by viewing the output from the command:
rostopic echo /mavros/odometry/out
Usually the localization can take 20-30 seconds to stabilize in the low level flight controller. Users can checkout the local position topic for the flight controller to verify localization states, and this is achieved by typing the following command in the Mavlink console from the Qgroundcontrol station:
listener vehicle_local_position
Sometimes the console output is not complete due to network burden. Users can try alternatively the command:
listener vehicle_local_position -n 20
Users can only attempt the semi-autonomous flight (Position mode) when all values of x,y,z positions and velocities are confirmed to be valid. The procedures are the same as the Quick Start Section. The drone is expected to hover quite well or even better than the outdoor case.
To add up, make sure that there are some features in front of the camera, and don’t make the drone face a clean white wall.